The first technique I wanted to get right was to capture the city lights. The kids went on holiday and I was allowed to house-sit their flat. Their flat is on the Oriental Parade in Wellington, with the most amazing view over the city - the perfect place for city lights.
Camera: Olympus e-500 with the 70-300mm lens
I googled and found this information (I am disappointed to say I cannot remember the URL of the site, and can therefore not acknowledge the photographer who shared this on the Internet), but it is excellent:
ISO100 ISO400
- Neon lights filling frame 1/8 sec; f8 1/15 sec; f11
- Brightly lit theatre district with neon lights 1/4 sec; f8 1/8 sec; f11
- Bright street scenes 1/2 sec; f8 1/4 sec; f11
- Floodlit buildings and monuments 2 sec; f5.6 1/2 sec; f5.6
- Distant skyline of offices, streets, etc 4 sec; f2.8 4 sec; f5.6
I set the camera up quite early, on the tripod and took the first test shot at f/8; 2 sec
Second shot at f/4; 1/125
Shot a lovely sunset with f/4.5 and 1/125
And then it became darker and the lights turned on!
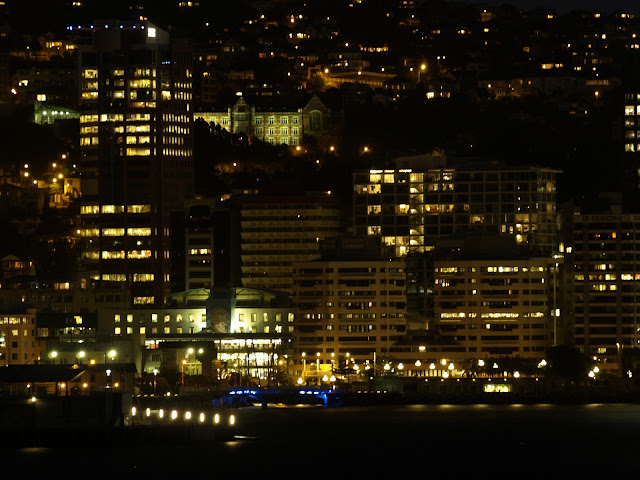 |
| F/3.6; 4 sec |
|
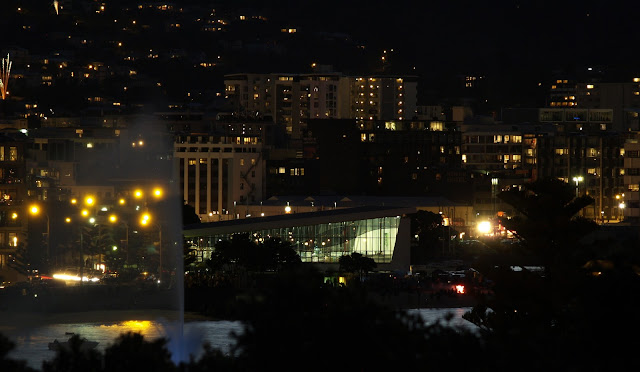 |
| f/8; 2 sec |
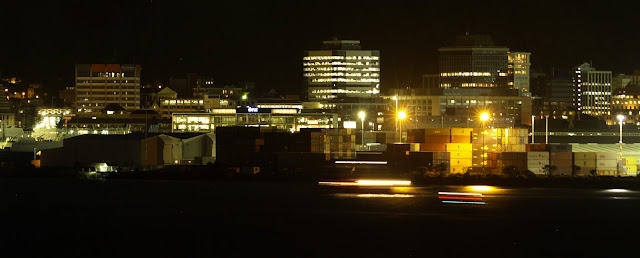 |
| f/5.6; 4 sec |
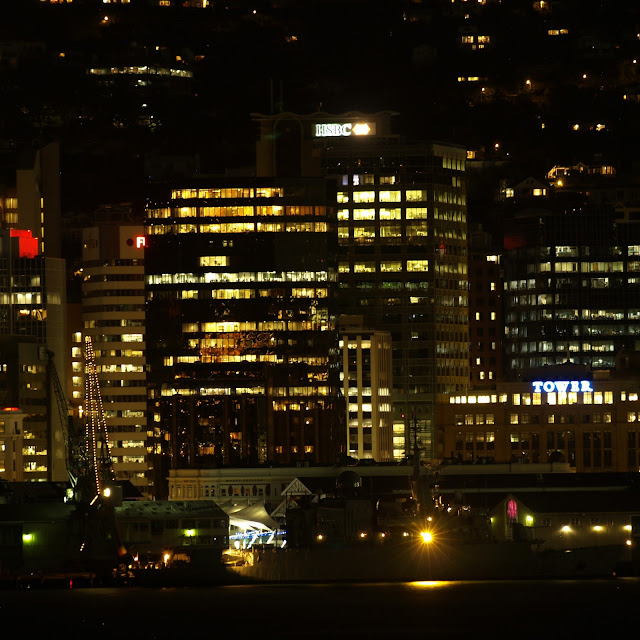 |
| f/5.6; 4 sec |


